Then onto the Print the designs. I re-learned a lesson that I had forgotten all over again, and that is to do a thin print of your hole positions so that you can tweak them without waiting a long time for a print only to find out that it needs a tweak. Also that my process is a mirror image so don't forget to flip the print laterally! Both of these can be done in the slicing software.
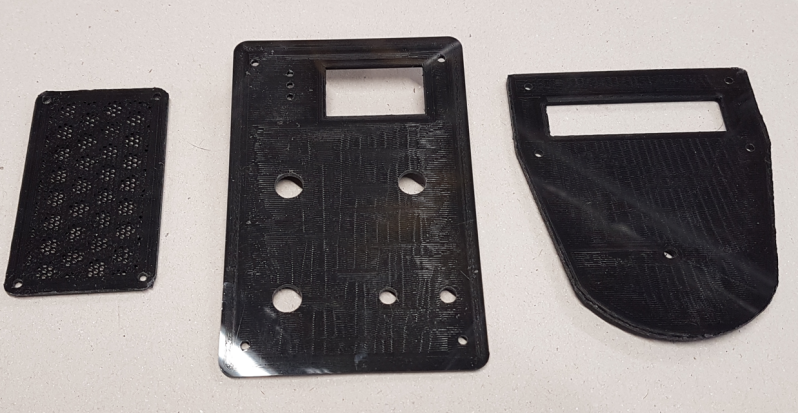
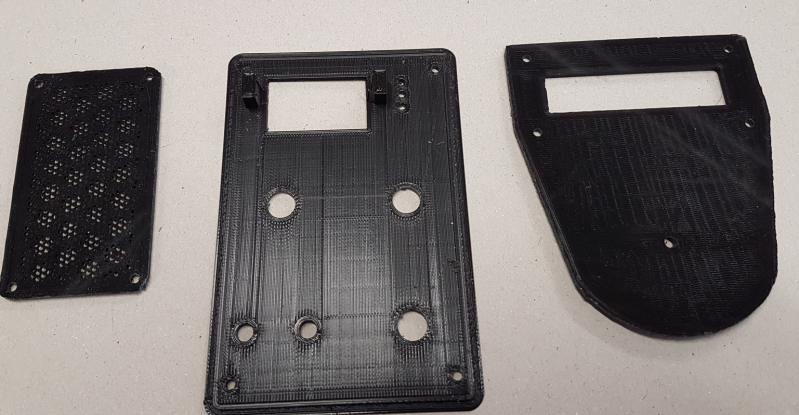
Here are the 3d prints as they came off the printer.
Not sure if you can see it on the rear of the centre panel but there are two lugs that stick up. These are for attaching the moving coil s-meter firmly to the panel. The slot cut into the metal allows these to poke through the metal front panel.
The other lesson was to print the holes slightly undersize and then enlarge them to size using a reaming tool. This is sound advice when making up any panel regardless of what material it is made from.
Add comment
Comments